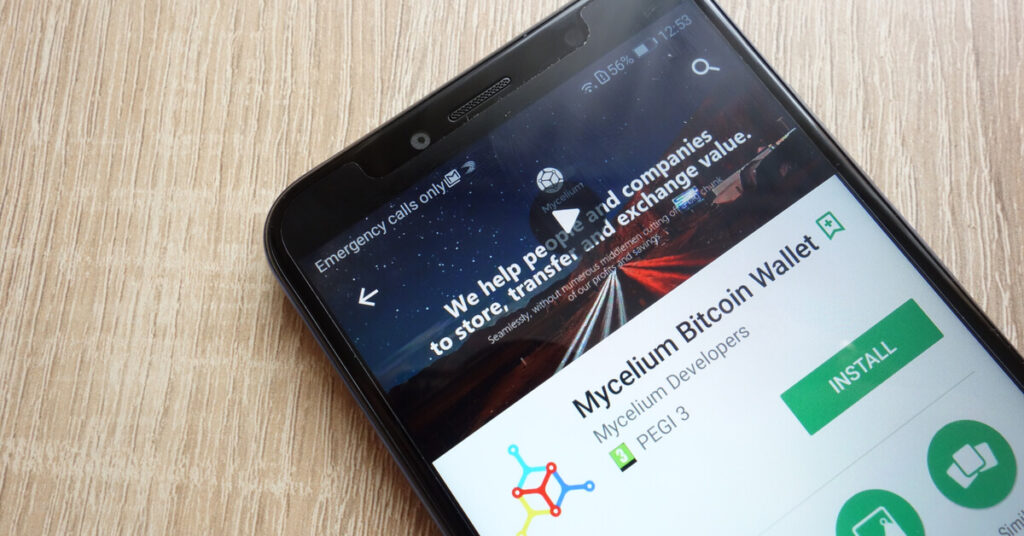
How to Set Up a Mycelium Bitcoin Wallet
Mycelium is a popular Bitcoin wallet that boasts the distinction of being one of the oldest options on the market. This wallet has garnered a loyal fanbase since it was first developed in 2008, so if you’ve decided that Mycelium is the wallet for you, look no further! In this article, we break down exactly how you can set up a Mycelium wallet and start using it.
When you begin to invest in cryptocurrencies, one of the first things you should do is obtain a secure crypto wallet that lets you self-custody your crypto. When you first purchase your new cryptocurrency on a crypto trading site, most sites will provide you with a hosted wallet in which to hold your assets. However, these wallets are vulnerable to hackers, as they are hosted online.
For extra security, you may want to acquire a hardware or software wallet. Hardware wallets typically take the form of a physical device, such as a USB key. In order to keep them secure and avoid losing them, many hardware waller owners opt to keep them in a safe, along with any codes and passwords needed to access them.
Software wallets generally exist on an electronic device, such as a computer or phone. This type of wallet has gained favour with many crypto users, because it is more secure than a hosted wallet, but is not at risk of being lost or misplaced, as a physical hardware wallet can be.
Mycelium wallet is built for Bitcoin
Mycelium is available as an iOS and Android Bitcoin wallet app – and it is one of the oldest Bitcoin wallets on the market, as it was first developed in 2008. If you have been searching for a reliable Bitcoin wallet, and you’ve decided that Mycelium is the right choice for you, we offer a step-by-step guide to setting up this wallet below.
Step 1: The first step is to find the Mycelium Wallet app on Google Play Store or iOS App Store. You should use the link on the Mycelium website to make sure you are using an authentic app and not a copycat. Follow the on-screen instructions to download and install the app. Once it has been successfully installed on your device, open the app and select the option “Create New.”
Step 2: We recommend backing up your new wallet straight away. You can do this by clicking on the “Backup” option from the menu located in the top right corner of the screen. Twelve words will be individually displayed on the screen. These twelve words form what is called a “master seed” that enables you to gain access to your Bitcoin, even if your phone is ever lost or stolen.
Make sure you write these words down on paper, then store them safely in an offline location. Mycelium will prompt you to input the words again, one by one, to check that you have written each of them down correctly. The screenshot below demonstrates how this process works.
Step 3: Once the backup process is complete, you will be prompted to set up a PIN code. For security purposes, this PIN code will need to be entered every time you use your wallet. To set up your PIN code, go to the menu in the top right-hand corner of the screen, select “Settings”, then select “Set PIN Code”. Enter a code of your choice, and ensure that you remember it.
If you ever forget your PIN code, you can access your Bitcoin with your master seed (the twelve words that were displayed during the backup process). If that happens, simply use the option to recover an existing wallet. Choose this option, enter your seed, and you will regain access to your assets.
Step 4: Once all of the security settings are in place, the next step is to start sending and receiving Bitcoin. To receive Bitcoin, select “receive” under the “balance” tab at the top of your screen. As the screenshot below demonstrates, you will then have a wallet address that can be copied and pasted.
Simply paste this address when purchasing your Bitcoin in order to receive your Bitcoin instantly. You will also be able to see the transaction on the blockchain. It can take up to ten minutes to receive a confirmation, and you may need to wait around another ten minutes before you can re-send those funds to another address.
To send Bitcoin from your new Mycelium wallet, click “send” under the “balance” tab at the top of your screen. You can then scan your recipient’s QR code or type in their Bitcoin address using the “Manual Entry” option. You will also need to enter the amount of Bitcoin you want to send.
Next, you will be asked to select the size of the miner fee you would like to pay. Miner fees incentivize miners to prioritize your transaction on the blockchain. The size of these fees can vary depending on how busy the network is at any given time – we explain this subject in greater depth in this article. A higher fee will mean your bitcoin will arrive faster.
Once you have checked that everything about your payment looks correct, tap “send.” You will be prompted to enter your PIN before the transaction is made.
Step 5: Enjoy your new wallet! You will be able to find records of all your transactions under the “transactions” tab at the top of your screen. Finally, always make sure to always purchase your Bitcoin from a reliable source, such as Xcoins!To stay up to date on all things crypto, like Xcoins on Facebook, follow us on Twitter and LinkedIn and sign up at the bottom of the page to subscribe.

